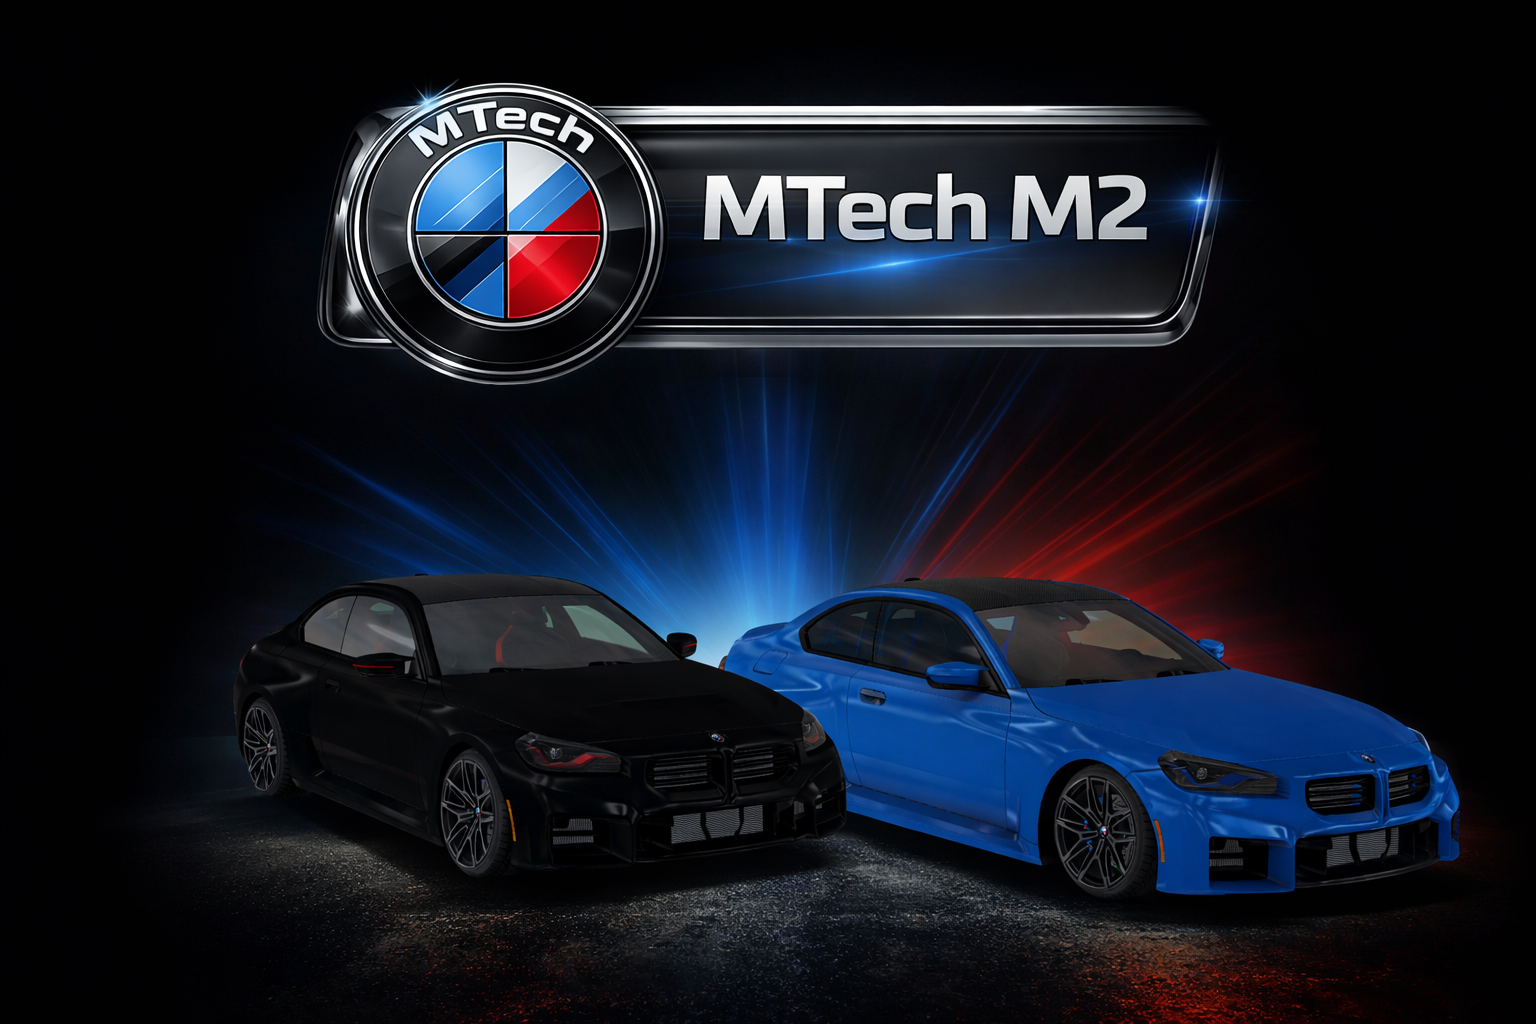
Welcome to the BMW M2 Vehicle System Manual.
This guide explains how to drive, configure, repair, secure, customize, and modify the vehicle correctly.
This vehicle was built to feel closer to a real performance car than a simple arcade vehicle. That means RPM, speed, throttle timing, braking distance, gear choice, drift entry, burnout control, and corner timing all matter.
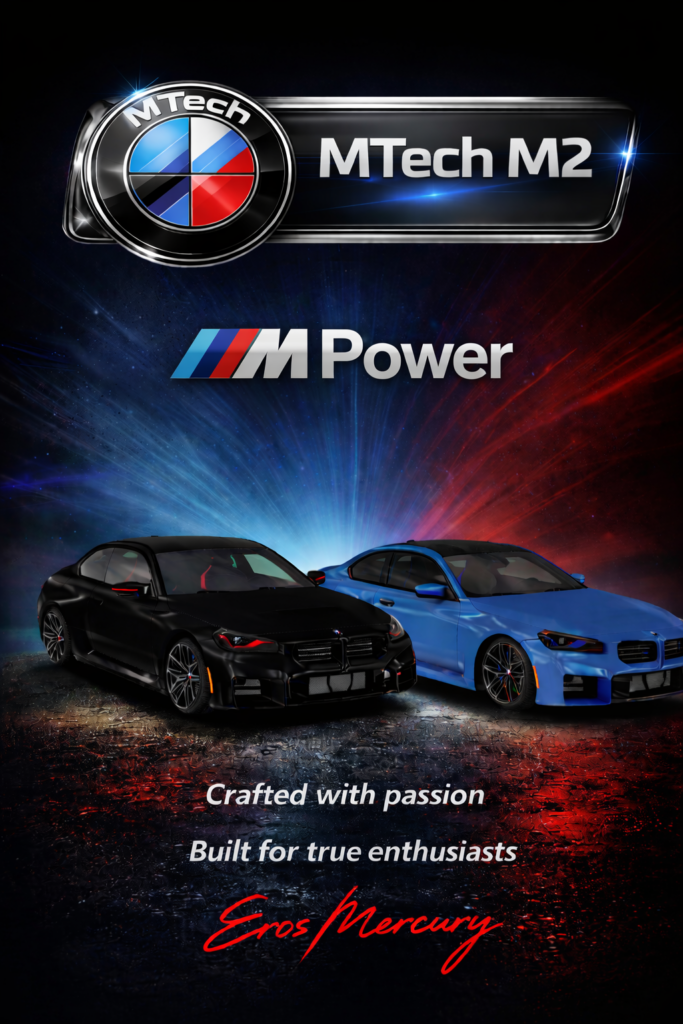
It also includes advanced systems such as:
- manual-style gearbox behavior
- performance modes
- realistic throttle and braking response
- burnout, donut, and drift support
- scale system
- install mod system
- wheel / skin / addon installation support
- Skin & Color HUD support
- vehicle HUD support
- optional auto-attach HUD system
- lock and access control
- RP alarm and theft gameplay
- damage, crash, and repair system
- seat adjustment
- camera presets and driving modes
1. Important Modding Rules
Before installing any addon, skin, wheel set, or custom modification, the vehicle must be set to Normal scale (1.00).
This is required because the install systems were built around the vehicle’s default scale reference. If the car is not at Normal 1.00, addons may fail to detect the vehicle properly, install in the wrong place, or not sync correctly.
Required Rule
Always use:
Scale: Normal (1.00)
before:
- installing addons
- installing wheels
- attaching structural modifications
- using install mode
Recommended Rule
If you attach custom parts or build modifications onto the car, it is strongly recommended that those parts use the same scale as the vehicle.
2. Install Mod System
To install skins, wheels, and addons correctly, use:
Settings → Install Mod → On
When Install Mod is turned on, it stays active for 5 minutes.
This system was created to keep the car lighter during normal use and reduce lag caused by permanent install scripts staying active all the time. In short, install mode only runs when needed.
Correct Modding Workflow
- Set the vehicle to Scale: Normal (1.00)
- Open Settings
- Open Install Mod
- Press On
- Install your skin / wheel set / addon / modification
- When finished, open Settings → Reload
3. Reload After Changes
After making changes to the vehicle, you must go to:
Settings → Reload
This forces the vehicle to refresh and sync its internal memory with the current state of the car.
Reload is required after:
- installing addons
- changing wheels
- attaching custom modifications
- editing structure or links
- scale-related mod work
- using install mode for new changes
Reload synchronizes:
- scale system memory
- addon memory
- wheel position systems
- linked scripts
- ECU and synced settings
- current structural mod state
If you modify the car and do not reload it, some systems may still be working from older saved values.
4. Getting Started
Entering the Vehicle
Sit in the driver seat to begin.
Depending on the engine configuration:
- Auto Engine starts the engine automatically when a valid driver sits
- Manual Engine requires you to start it from the menu
Opening the Vehicle Menu
Touch the body menu area on the car to open the main menu.
From the main menu you can access:
- Lock / Unlock
- Lights
- Engine
- Alarm
- Access
- HUD
- Settings
5. Driving Philosophy
This BMW M2 was built to behave more like a real performance car.
That means:
- RPM matters
- speed matters
- braking distance matters
- gear choice matters
- throttle timing matters
What this means in practice
- the car does not stop instantly
- you must brake earlier at higher speed
- lower gears pull harder
- higher gears stretch speed longer
- throttle and RPM affect how the car behaves
- engine braking exists when you come off throttle
- drift, burnout, and donut behavior depend on how you drive, not just pressing a single button
To drive well:
- brake before the turn
- choose the right gear
- enter with the correct speed
- apply throttle at the right moment
- accelerate out of the corner instead of trying to force speed in too late
6. Driving Modes
The vehicle supports two driving styles.
ASDW / Keyboard Driving
This is the main and recommended driving mode.
It is best for:
- normal driving
- drifting
- donuts
- burnouts
- learning the handling model properly
Mouselook Driving
This is a secondary way to drive.
In this mode, steering follows your mouselook camera direction. It is useful if you prefer that style, but the main handling systems are best experienced in the standard keyboard mode.
To change driving mode:
Settings → Driving
7. Basic Controls
Main Drive Inputs
- W / Up Arrow = throttle
- S / Down Arrow = brake
- W + S together = brake-throttle input, used for burnout behavior
- Shift controls = gear up / gear down
What the car expects from you
This is not a tap-and-go arcade car. It responds better when driven with rhythm:
- build speed properly
- brake properly
- use the right gear
- manage RPM
- stay smooth with input
8. Gearbox
The BMW M2 uses a manual-style gear system.
Gear Range
- Reverse
- Neutral
- 1st gear
- 2nd gear
- 3rd gear
- 4th gear
- 5th gear
- 6th gear
General Behavior
- lower gears give stronger pull
- higher gears carry more speed
- the car responds differently depending on current RPM and wheel speed
- shifting at the right time improves performance and control
Reverse is protected and cannot be selected unsafely at higher speed.
9. Engine Menu
Open:
Main Menu → Engine
Available Options
Start
Starts the engine manually.
Stop
Stops the engine manually.
Auto
The engine starts automatically when the driver sits.
Stock M2
Default performance mode.
M Power
Performance mode for a stronger live tune.
Important
The tune can only be changed while the engine is running.
10. Performance Modes
The vehicle supports two live performance modes.
Stock M2
This is the standard BMW M2 setup.
M Power
This is the more aggressive performance mode.
It changes the vehicle behavior toward a stronger live tune and higher performance response.
11. Lights
Open:
Main Menu → Lights
Light Modes
- Off
- On
- Auto
Auto Mode
In auto mode, lights react automatically when the car is in use.
Blinkers
Inside the lights menu you can control:
- Left blinker
- Right blinker
- Hazard
- Off
12. Braking and Corner Entry
Because the car uses more realistic speed and engine behavior, braking needs timing.
Important
At higher speed:
- brake sooner
- give the car time to slow down
- do not expect instant stop behavior
The best driving flow is:
Brake → Turn → Accelerate out
If you turn too fast or brake too late, the car becomes harder to control.
13. Burnout
The BMW M2 supports burnout behavior.
Standing Burnout From 1st Gear
To do a standing burnout:
- Put the car in 1st gear
- Hold W + S together
- Keep throttle in
- Let the car build and hold the burnout
This uses brake-throttle input to load the car while the driven wheels break traction.
Burnout From Neutral
The car also supports burnout entry from Neutral at full RPM.
How to do it
- Put the car in Neutral
- Rev the engine high
- Keep throttle held
- Shift into 1st gear
This allows a high-RPM burnout launch from neutral.
14. Donuts
The car can perform donuts.
Best way to start a donut
- Use ASDW / keyboard mode
- Stay in 1st gear
- Build RPM
- Start from a burnout or low-speed slide
- Turn hard left or right
- Keep throttle applied
Donut Notes
- donuts work best at low speed
- 1st gear is the easiest place to do them
- a burnout into a tight turn is usually the easiest way to enter one
- too much speed makes donuts harder to hold cleanly
15. Drift
The BMW M2 supports drift behavior, but it depends on:
- speed
- RPM
- throttle
- steering timing
- gear choice
Recommended Drift Mode
Use:
ASDW / keyboard mode
Easy Drift Entry Example
To start a drift:
- enter the turn with speed
- begin turning in
- keep the engine in a strong RPM range
- tap the shift control during the turn
- stay on throttle
- control the slide with steering and throttle
That tap helps unsettle the car and helps it go into drift mode more naturally.
Drift Tips
- too little RPM will not break traction well
- too much speed makes the car harder to catch
- too much brake will kill the drift
- once the rear steps out, hold the slide with throttle and steering control
16. Seat Adjustment
Open:
Main Menu → Seat Adjust
or
Settings → Seat Adjust
This allows you to adjust the sitting position of the driver.
You can adjust:
- X
- Y
- Z
You can also restore the saved seat position to default.
17. Camera Settings
Open:
Settings → Camera
You can change:
- camera preset
- distance offset
- angle offset
The vehicle includes multiple camera presets so you can choose the view that feels best for your driving style.
18. Steering Settings
Open:
Settings → Steering
This changes steering sharpness.
Lower values feel softer.
Higher values feel sharper.
Default steering level is designed to be a balanced setup.
19. Scale System
Open:
Settings → Scale
Available presets include:
- Normal
- SL BIG
Important Rule
For all modding and installation work, always use:
Normal = 1.00
Alternative scale values may be used for normal display or preference, but are not recommended while installing or editing mods.
20. Lock System
The vehicle includes a standard lock / unlock system.
From the main menu you can:
- lock the vehicle
- unlock the vehicle
Access Modes
The car can be configured to allow:
- Owner
- Group
- Anyone
This is the standard usage and access control system for normal operation.
Auto Lock While Driving
The vehicle also includes an automatic driving lock for realism.
Once the car reaches 25 km/h, the doors automatically lock during that drive session. This is done so nobody can sit on the vehicle while it is moving, helping keep the driving experience more realistic.
How it works
- if the car is unlocked and you begin driving
- once speed reaches 25 km/h
- the vehicle applies a runtime auto-lock
- this prevents someone from jumping into the car while you are driving
Important
- this auto-lock is separate from the normal saved lock setting
- it is mainly a driving safety / realism feature
- when the driver leaves the vehicle, the runtime auto-lock is cleared again
So in practice, even if the car was unlocked before driving, it can still lock itself once you are moving fast enough.
21. RP Alarm System
The RP Alarm is a separate roleplay system and is different from the normal access / lock system.
Difference Between Systems
Standard Lock / Access System
This controls normal vehicle use:
- owner access
- group access
- public access
RP Alarm System
This controls theft / hacking / recovery gameplay for roleplay.
It allows a locked car to become a roleplay target, where someone can attempt to hack and steal it.
So even if the normal lock system says the car is protected, the RP Alarm can create a temporary RP path for theft and recovery.
22. How RP Hacking Works
If the alarm is armed, an unauthorized person can attempt to hack the car.
Requirements
- RP Alarm must be armed
- the hacker must stay within about 3 meters
- the hack takes 5 minutes
During the 5-minute hack
The vehicle will:
- sound the alarm / horn
- blink the lights
- remain in active robbery state while the hack is running
If the hacker moves too far away, the hack fails.
23. What Happens After a Successful Hack
When the 5-minute hack finishes:
- the vehicle becomes hacked
- the robber can take control of it for RP
- security is overridden until the owner restores it
This means the vehicle has been successfully stolen in RP.
24. GPS Recovery Signal
As soon as the car is successfully hacked, it sends a pulse GPS signal to the owner.
After that, it will send another GPS alert every 30 minutes until the car is recovered and security is restored.
RP Use
You can use this GPS signal to:
- go recover the stolen vehicle yourself
- give the location to Police
- build RP around tracking, recovery, and pursuit
This makes the alarm useful for ongoing RP, not just a one-time theft scene.
25. Restoring Security After Theft
Once the stolen vehicle is recovered, the owner should restore security.
That ends the hacked state and returns the vehicle to normal protected operation.
This is the recovery step after a successful RP theft.
26. Vehicle Damage System
The BMW M2 includes a full vehicle damage system for combat, crashes, and RP.
Health
The car has a maximum of:
100 health
When health drops below 100, the car is damaged.
When health reaches 0, the car becomes broken.
Damage Sources
The vehicle can take damage from:
- direct weapon damage
- other external damage systems
- vehicle crashes
- impact with other MLS vehicles
27. What Happens When the Car Breaks
When health reaches 0:
- the engine fails
- the vehicle stops operating
- smoke starts
- physics is forced off
- controls are locked
- anyone trying to sit is unsat
- the car cannot be driven until repaired
This state is actively enforced by the system while the car remains broken.
28. Repair System
A damaged or broken vehicle can be repaired when health is below 100.
How to Repair
Touch the vehicle and choose:
REPAIR
Repair Rules
- repair is only available if health is below 100
- repair is not allowed at 100
- repair runs from the current health value back to 100
- full repair time is 300 seconds
- if you walk too far away, repair pauses
- when you come back, repair can resume from where it stopped
Repair Distance
You must stay within about 4 meters of the vehicle while repairing.
29. Mechanic Rule
The damage system supports mechanic-based RP restrictions.
Rule
If a valid mechanic is nearby:
- only mechanics may repair the car
If no mechanic is nearby:
- anyone may repair it
This allows mechanic RP to matter during vehicle recovery.
Important Note
This mechanic rule is exclusive to the MATRIX City sim.
30. Crash Damage
The damage system also handles crash impact.
Avatar Crash Damage
If the vehicle collides at 20 km/h or more, it can damage avatars it hits.
Important
People sitting inside the vehicle are immune to their own vehicle’s crash damage.
Vehicle vs Vehicle Impact
If the collision system detects another MLS vehicle:
- both vehicles can take damage
- damage is based on relative impact speed, not only one car’s own travel speed
This makes vehicle collisions fairer and more believable for RP.
31. Skin & Color HUD
The vehicle supports a separate attached object called:
[MTech] Skin&Color HUD
This HUD is used to customize the visual style of the BMW M2.
Important
- the car must be within about 5 meters
- the HUD searches for a valid BMW M2 nearby before applying changes
If no valid BMW M2 is found within 5 meters, the HUD will not apply the request.
Main Customizer Options
The Skin & Color HUD includes these sections:
- Skin UUID
- Skins
- Front Light
- Seat Sides
- Cockpit Trim
- Brake Pads
32. Skin UUID
This option lets you paste a direct body texture UUID.
How it works
- Open the Skin & Color HUD
- Press Skin UUID
- Paste the body texture UUID
- The HUD sends the skin request to the nearby car
This applies the selected body texture to the supported body parts.
33. Skin Presets
The Skin & Color HUD includes preset body style options.
Available Preset Types
- Black
- Blue
- White
- Red
- DIY
Preset Behavior
These presets apply:
- a body texture UUID
- a body color
- a matching specular setup
This allows quick theme changes without entering every value manually.
34. DIY Body Color
The DIY skin option uses a fixed white skin base and then changes the body color.
DIY Behavior
- applies the white body skin UUID first
- changes the body color to your selected color
- keeps specular white
This is useful when you want a custom body color without changing the full preset package.
35. Front Light Colors
The Skin & Color HUD can recolor the:
- headlights
- matching door light areas
This allows you to choose different front light styles and accent colors.
36. Seat Side Colors
The HUD can recolor the seat side accents on both front seats.
This changes the side accent colors without changing the full seat texture setup.
37. Cockpit Trim Colors
The HUD can recolor cockpit trim areas including:
- dashboard trim
- center console trim
- steering wheel trim
It also applies matching specular color pairs so the trim keeps the intended shine and finish.
38. Brake Pad Colors
The HUD can recolor the supported brake pad / caliper color areas.
This allows visual brake accent customization without editing the car manually.
39. Skin & Color HUD Usage Notes
Range Requirement
The car must be within about 5 meters.
Owner Restriction
Only the owner can use the Skin & Color HUD.
Nearby Car Detection
The HUD discovers a valid BMW M2 nearby and then sends the requested appearance change to that car.
If no valid BMW M2 is found within range, the HUD will say no valid BMW M2 was found.
40. Vehicle HUD
The BMW M2 also supports a separate control HUD for quick vehicle functions.
This HUD provides button-based access to common controls such as:
- engine start / stop
- menu open
- horn
- lights
- hazard blinkers
- left blinker
- right blinker
- M button / performance mode
41. Auto Attach Vehicle HUD
The vehicle HUD supports an auto attach system.
If auto attach is enabled, the HUD can be automatically rezzed and attached for the owner when used with the car’s HUD system.
This can be managed from the vehicle HUD controls and HUD menu options.
42. If Auto Attach Is Off
If auto attach is turned off, the HUD can still be attached manually.
Manual Attach Methods
You can attach it by:
- wearing the copy from the folder
- touching the car and using Touch in the HUD workflow if applicable
If it is not working
If the HUD is attached but not responding correctly, use:
Sync
This re-syncs the HUD with the active vehicle.
43. HUD Sync
If the HUD is attached but not controlling the car properly, use:
HUD → Sync
This tells the HUD to pair again with the correct BMW M2.
This is useful especially:
- after vehicle reload
- after reattaching the HUD
- after sim crossing issues
- if the HUD seems connected to the wrong car or no car
44. Vehicle HUD Controls
The vehicle HUD reflects live state and sends commands to the active paired BMW M2.
Main HUD Functions
- Start / Stop = engine control
- Car Menu = opens the vehicle menu
- Horn = tap horn or hold horn behavior
- Lights = on / off / auto control
- Left / Right / Hazard = blinker control
- M Button = performance mode toggle
Live HUD Status
The HUD can reflect:
- engine state
- lights state
- blinker state
- light mode
- performance mode
45. HUD Functions From the Vehicle Menu
Open:
Main Menu → HUD
Functions include:
- attach HUD
- sync HUD
- auto-HUD on sit
HUD functions are intended for the owner.
46. Settings Menu
The settings menu controls the vehicle’s advanced systems.
It can include:
- camera settings
- steering settings
- driving mode
- seat adjustment
- scale
- install mod
- reload
This is the area you should use after customization work.
47. Recommended Driving Progression
To learn the vehicle properly:
Step 1
Drive normally and learn:
- braking distance
- throttle response
- shift timing
- RPM behavior
Step 2
Practice:
- burnout from 1st gear
- burnout from neutral full RPM
- low-speed donuts
Step 3
Practice:
- drift entry from turns
- throttle control during slides
- corner speed management
- recovery from oversteer
This is the best way to understand the car’s handling model.
48. Recommended Modding Workflow
The safest workflow is always:
Scale Normal (1.00) → Install Mod On → Make changes → Settings → Reload
This is the correct method to keep the BMW M2 fully synchronized after customization.
49. Troubleshooting
Addon does not detect the car
Check that:
- the car is at Normal 1.00
- install mode is on
- the addon belongs to the same owner
- the addon is close enough to the vehicle
- you used Settings → Reload after installation
Wheels or addons do not align correctly
Check that:
- the vehicle is at the correct scale
- attached parts use the same scale
- the car was reloaded after installation
Changes do not seem saved
Use:
Settings → Reload
Skin & Color HUD does not find the car
Check that:
- the BMW M2 is within about 5 meters
- you are the owner
- the correct car is nearby and active
HUD is attached but not working
Check that:
- the HUD is correctly attached
- the correct car is active
- you use Sync if pairing failed
- if auto attach is off, attach it manually from the folder or through the car workflow
Repair will not start
Check that:
- health is below 100
- you are close enough to the vehicle
- a mechanic is not required nearby
RP hacker cannot complete hack
Check that:
- the alarm is armed
- the hacker stays within range
- the hacker remains near the car for the full 5 minutes
50. Final Summary
This BMW M2 is designed to support:
- realistic-style driving
- manual-style handling
- advanced modding
- install workflows
- appearance customization
- HUD workflows
- RP theft and recovery
- full damage and repair gameplay
Most important rules to remember
For driving
Treat it like a real car:
- RPM matters
- speed matters
- braking matters
- timing matters
For modding
Always use:
Normal Scale (1.00)
Then:
Install Mod On → make changes → Reload
For customization
Use the attached:
[MTech] Skin&Color HUD
Stay within range of the car and make sure the correct BMW M2 is nearby.
For the vehicle HUD
If auto attach is off:
- attach it from the folder
- or use the car / touch workflow if needed
- if it is not responding correctly, use Sync
For RP
The normal lock system controls regular access.
The RP Alarm controls theft, hacking, GPS tracking, and recovery gameplay.
For damage
The vehicle can break, smoke, lock down, be repaired, and return to service based on health and repair flow.
One thought on “BMW M2 Full Vehicle Manual”